Week 1 – RAW files, CS6, Lightroom, Bridge, Actions
Good discussion in class bout the merits of using RAW files and also about non destructive capabilities of TIF files. Adobe Lightroom is a super tool, better than I thought for photo editing, but I’d prefer not to use it for photo editing (at this stage), other than basic uploads to Facebook (which it does really well). I am sure in the future there will be increased integration between Lightroom and Photoshop so it won’t matter where you do the editing.
Week 2 – Bridge, Actions
I stopped using Adobe Bridge once purchased Lightroom, and can see no reason to go back. During the class I did discover that Lightroom has an even better history and change tracking capability than I thought.
I don’t do a lot of standard processing of photos, so am unlikely to ever get a big advantage out of using the Actions capability in Photoshop, but for people with high volume processing requirements, this is a must use feature.
Week 3 – Masks, Channels, Paths, and Pen Tool.
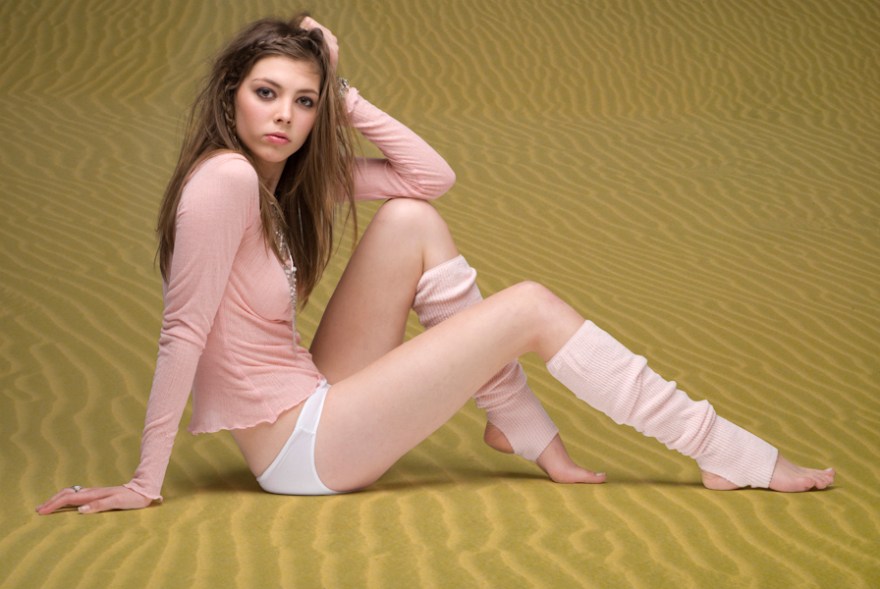
Quite impressed the with ability to pick up the fine parts of the hair using layers, panels and paths. A real learning experience for me, as I would have normally struggled with the Quick Selection Tool, that provides a quick but lower quality solution. The blending options are terrific, to bring in the shadows from the model was a real buzz.
The pen tool looks difficult to master (so the pre-made selection was handy). Had a decent go with the pen tool on one of my photos and finally got it right.
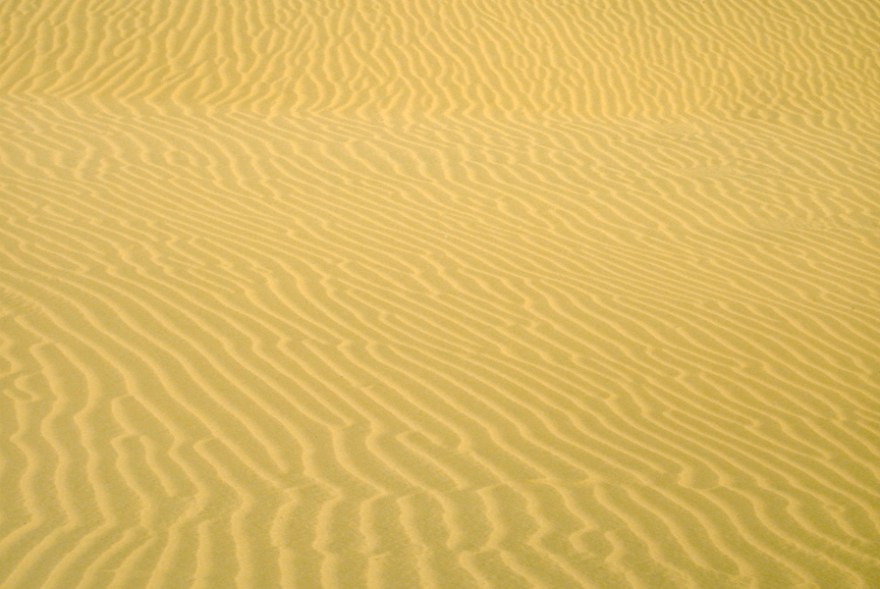
Week 4 – Blending and Montage
Not really my cup of tea, but quite an interesting exercise to create this image from lots of different 3 different component, text and lines / shapes. Using and experimenting with the different blending modes is quite interesting and can produce some quite wacky outcomes. Added some references to DNA and Fibonacci via the text to jazz it up a bit.
Week 5 – Sharpening and softening
Following the work sheet for the class produced this sharpening effect, I have always wondered how people get this crisp and clean eyes. You can see the difference in the before and after photos below. This technique was achieved using High Pas Layer, masks and then ultimately the Unsharp Mask to target the sharpness to the right spots (eyes, hair and other appropriate hard lines) leaving the soft and subtle-ness alone for (in particular) the skin. This technique is a must for portrait photography.
Did some work at home on sharpening, and tried the calculations technique. I doesn’t seem to work that well unless there are strong contrasts in the photo. Anyway, I used the Unsharp mask at 300%, with a radius of 1.3 for this image. It probably sharpened a little too much.
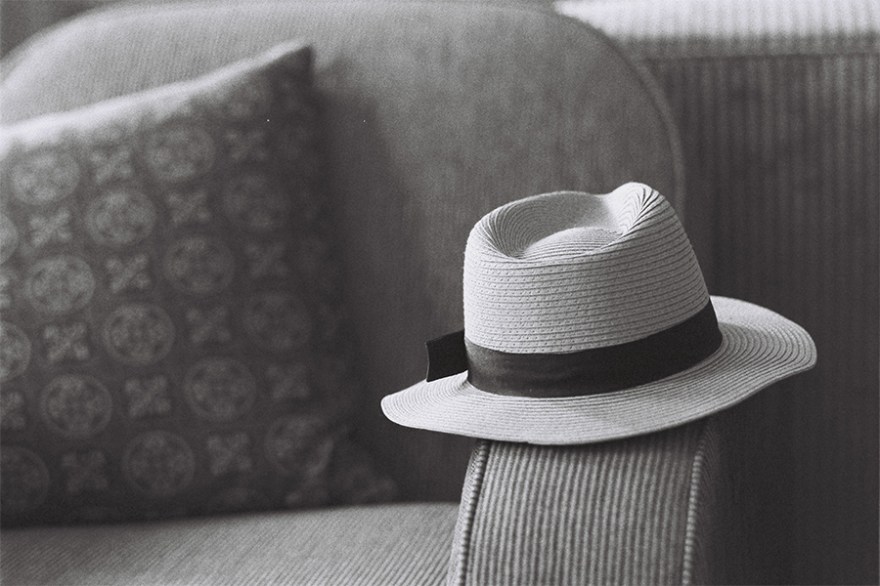
I managed to get the calculation to focus almost entirely on the hat (with a few small adjustments using the quick selection tool), which really made the hat stand out against the background. The background blur was a lens effect (f1.4).
Had much better outcome with the calculations technique on this image, taken with my trusty Pentax K1000 and 50mm f1.4.
Before…
After…

Also used the calculation technique from Photoshop quite successfully to sharpen the detail in the carpet in this shot at the Grand Hotel in Mildura.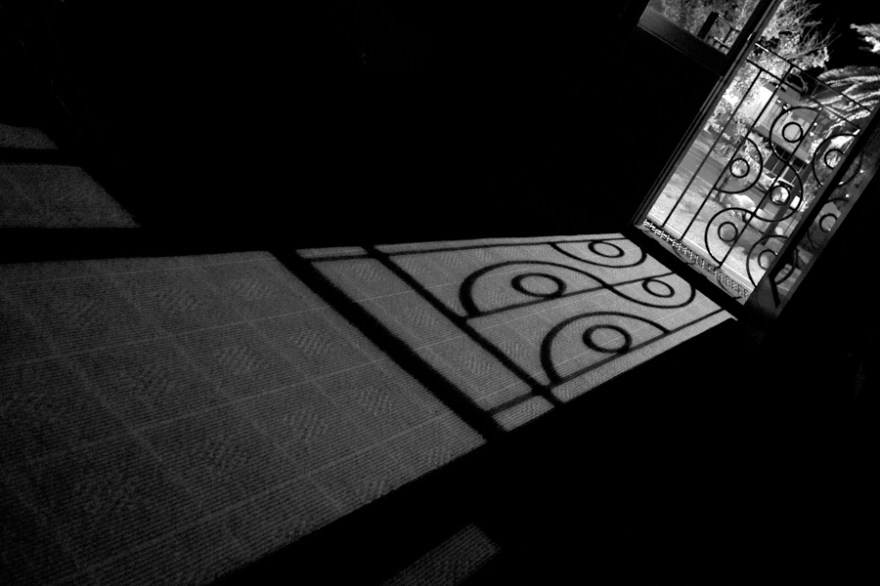
We also did some work on removing colour moire (noise) from photos. Here are the before and after phtotographs. Surprisingly we used the Gaussian blur technique which did a great job of removing the noise. We then used camera raw, layers and layer masks to direct a high level of sharpening to the desired areas. It was again surprising to see that given the right preparation, unsharp mask can be used at very high percentages, in this case it was 200%.
Before…
After…
Really enjoyed creating the orb, the ability to create fantastic graphics from scratch using layers, masks, textures and overlays is stunning. Here is my orb from the class exercise.
I did find it hard to get familiar with the tools and techniques of this method, and finished it at home. I also did vary from one part of the tutorial, preferring to drop the opacity of the gradient overlay (to reduce the impact) rather than use a layer mask and gradient tool to de-saturate some areas.
Week 7 – Texture and Filter Effects
McManus and Orton treatments this week. Have seen these before, but thought they were a bit over-processed in the past. However, the workflow provides a more subtle and likeable version that I have seen. Here are the before and after shots (that includes some cropping)…
Kinchega woolshed (McManus)
before…
After…
Jed (Orton)
The original raw photograph was taken using a Pentax K-5 with a manual 85mm f2 prime lens. This prime lens is probably my favourite, sharp, fast and great colour.
Here is the raw file without any processing…
Here is the Orton style processed photo, using a sharp and a blur layer in Photoshop and following the Orton tutorial. I have seen automatic Orton filters before, and didn’t like the outcome, again they looked too processed, although this looks processed is it subtle.
Oh,I also tidied up a few of the distracting elements using the magical Photoshop content aware tool.
Also added a random texture to the photo, just to see how it looks. This is a combination of four texture layers (2 timber panelling, and 2 dirt). In addition I added a canvas patterned overlay and de-staturated the photo almost to monotone.
Week 8 – Modifications. e.g HDR.
I pretty much focussed solely on HDR for this class, did a bit of HDR work a couple of years ago with a simple shareware tool and quickly got disillusioned.
Here is a comparison of a HDR photo using Photoshop against Photomatix…

Which do you prefer? I picked the best and most natural looking from each HDR treatment option. I think the bottom one is more natural and was produced using Photomatix. The Photoshop version looks too harsh and obviously over-processed, whereas the Photomatix version just leaves you wondering about the lighting that achieved the detail in the shadows.
Week 9 – Assessment
Postcards and Creativity
Six Photographs
In addition to the Hat in the Hotel Lobby, the Kinchega Woolshed, the Orton treatment of Jed and the HDR of the Jeep at Silverton, the following two photos are submitted to round out the six required for assessment.
Number 5 – creative text.
If you look closely you will see the words WALL, CORRUGATED AND FENCE on the subject matter in the photo. For creative effect, I created brushes with these words and them painted them onto the appropriate subject matter to create a subtle, but unusual effect.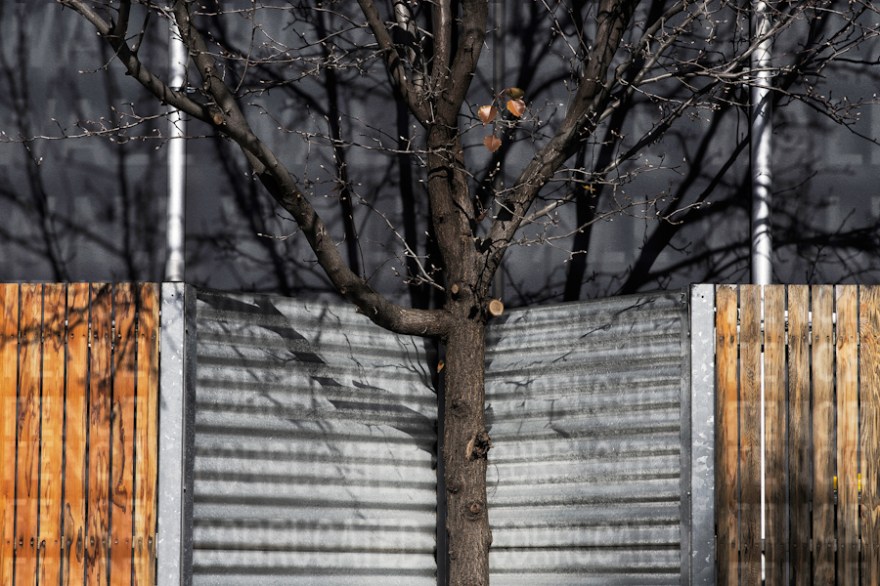
Number 6 – montage
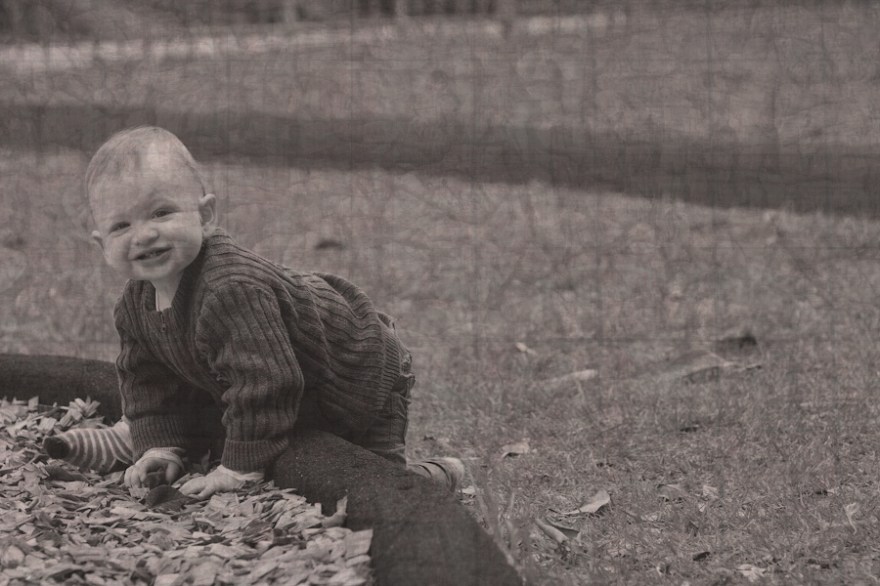
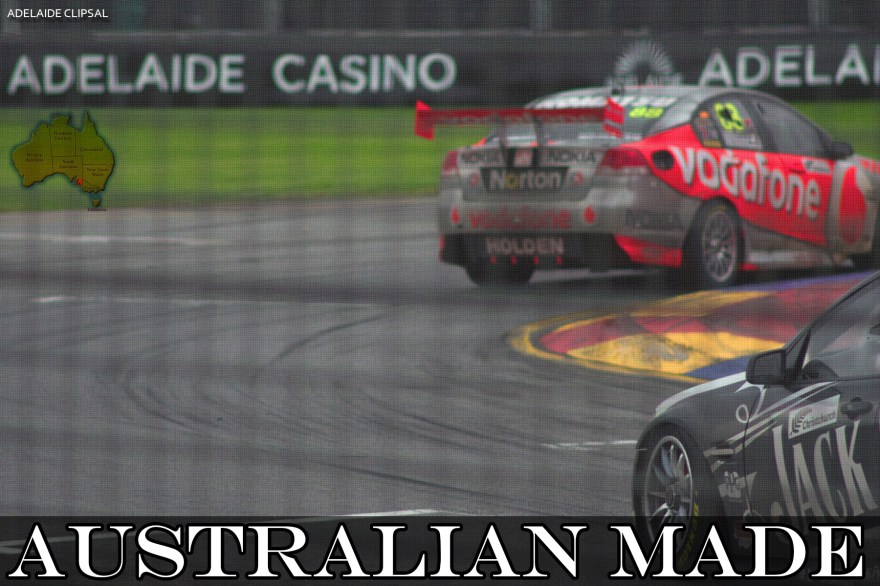
Extracted Jed from the Playground (see earlier) and added him to the Adelaide Clipsal, this process required extensive and careful use of the pen tool and layers and blending to match the two images.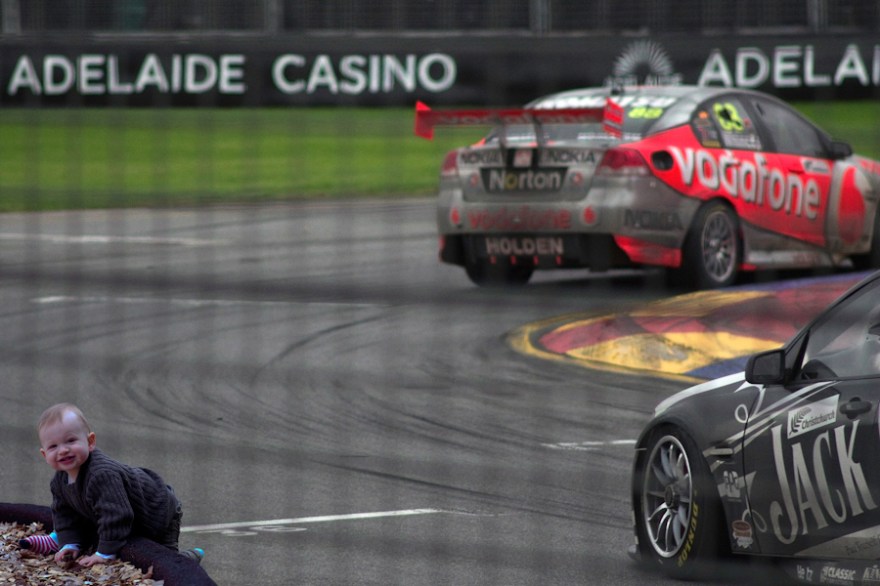







One thought on “Advanced Photoshop”